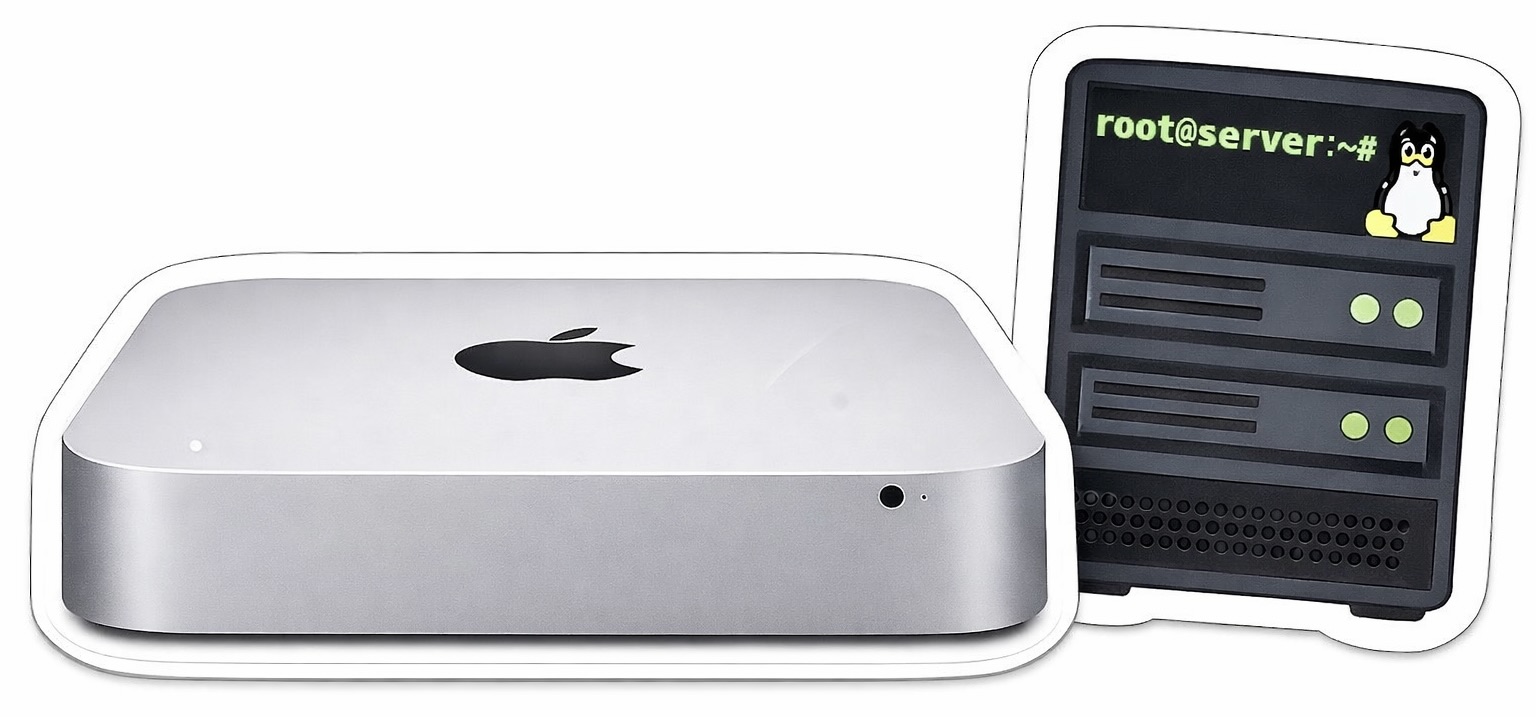
Turning an old Mac Mini into Server
Project
A brand new Mac Mini bought from eBay had been sitting unused for some time and deserved a second life instead of collecting dust. There was some hesitation to unbox it, but eventually the decision was made to put it to use. My goals were learn Linux properly (not just through VMs), build a small homelab, break things and (hopefully) fix them. This journey will be documented here with educational vibe.
This Mac Mini uses an HDD, so it is inherently slow. On the other hand, it provides a nice retro-like experience requiring a bit of patience for things to respond. AI and various tutorials helped write this blog, find tools, use commands, etc.
A brand new Mac Mini bought from eBay had been sitting unused for some time and deserved a second life instead of collecting dust. There was some hesitation to unbox it (200 USD value vanish instantly), but eventually the decision was made to put it to use. The goals were to learn Linux properly (not just through VMs), build a small homelab, and break things and (hopefully) fix them. This journey is documented here with an educational focus.
This Mac Mini uses an HDD, so it is inherently slow. On the other hand, it provides a retro-like experience, requiring a bit of patience for things to respond. AI and various tutorials were used to help write this blog, discover tools, and understand commands. All commands here provided considering Mac environment.
HDD Clean
Before INSTALLING, the disk was wiped using Parted Magic — honestly a really good tool for low-level disk operations.
Install Media
- Download Ubuntu Server LTS. The server version has no GUI, making it lighter and faster. LTS provides about 5 years of support, but does not include the latest features. A GUI can be installed later using:
sudo apt install ubuntu-desktop - Run
diskutil list - Find the external drive identifier (physical, external), e.g.
/dev/disk4 - Unmount the disk:
diskutil unmountDisk /dev/diskX - Write the ISO image to the disk using the following command (powerful and potentially dangerous):
sudo dd if=/Users/username/Downloads/ubuntu-24.04.4-live-server-amd64.iso of=/dev/diskX bs=1m. Note thatddis often called “disk destroyer” — it copies data byte by byte in chunks (bs=1m) from the input file (if=) to the output disk (of=) - Eject the disk:
diskutil eject /dev/diskX
Note that on an old Mac Mini, this method caused installation issues (it worked fine on non-Apple machines). Instead, Balena Etcher was used, which handled everything more reliably and saved time debugging boot problems. In any case, the manual approach is a good exercise to understand how data is copied byte by byte — a more raw, low-level experience.
Handshake
Now it is time to use this headless machine.
-
Run
hostname -Ion the server machine to get its IP address, or find it via the router interface -
SSH may not be enabled by default, then run:
sudo systemctl enable sshandsudo systemctl start ssh -
Update packages using
sudo apt-get updateandsudo apt-get upgrade. Theupdatecommand refreshes the package list with available versions, whileupgradeinstalls them. Without runningupdate, the package list may be outdated -
On the main laptop, connect using:
ssh username@local.ip.add.ress, whereusernameandlocal.ip.add.ressshould be replaced with actual values -
Enter the password; if everything works, access to the server is established
-
Exit the session using:
exit
This is a simple setup, but password-based login should be disabled as soon as possible. This will be covered next.